Ways to Remove Acrylic Nails Without Acetone at Home (Safely and Gently)
Removing acrylic nails at home can feel challenging, especially if you want to avoid harsh chemicals like acetone. While acetone is one of the fastest and most common removal methods, it can leave nails dry, brittle and sensitive. Fortunately, there are several effective alternatives that can help you lift acrylic nails gently—without damaging your natural nails in the process.
This guide explores the safest, most practical, and science-backed ways to remove acrylic nails without acetone, using tools and ingredients you likely already have at home. You’ll also learn how to protect your natural nails afterward and prevent future damage.

Why Avoid Acetone?
Acetone removes acrylic quickly, but it also has strong dehydrating properties. Regular acetone use may cause:
Excessive dryness
Nail peeling
Skin irritation
Weakening of the natural nail plate
If you have sensitive skin, damaged nails, or simply prefer a gentler approach, non-acetone methods can be a safer alternative.
1. Soak and Lift Method (Warm Soapy Water)
This is the simplest and most beginner-friendly method.
How it works
Warm water softens the acrylic and helps loosen the bond between the nail extension and the natural nail.
What you need
Warm water
Mild soap
Small bowl
Cuticle stick
Steps
Fill a bowl with warm, soapy water.
Soak your nails for 15–20 minutes.
Gently push the acrylic upward using a cuticle stick.
If the acrylic resists, soak longer—never force it.
Best for:
People with fragile natural nails or sensitive skin.
2. Oil Soak Method (Olive Oil or Coconut Oil)
Oils help soften the acrylic while nourishing the natural nail.
What you need
Olive oil, coconut oil, or baby oil
Small bowl
Steps
Warm the oil slightly (not hot).
Soak nails for 15–25 minutes.
Use a cuticle stick to gently lift the edges.
Re-soak as needed.
Why it works
Oil penetrates the acrylic and gradually loosens its adhesion—much like conditioning hair before detangling it.
3. Dental Floss Method (ONLY with caution)
This method can work—but only when the acrylic is already partially lifted.
What you need
Dental floss
A helper
Steps
Lift the acrylic edge slightly using a cuticle stick.
Have a helper slide floss under the raised edge.
Gently glide the floss upward to separate it from the nail.
Important note
Avoid if the acrylic is fully adhered—pulling can tear the natural nail.
4. Filing Method (Manual Nail File)
If you want a controlled, chemical-free method, filing is effective but requires patience.
What you need
High-quality 100/180 nail file
Fine buffer
Steps
File the acrylic surface in one direction.
Once the top layer is thinned, peel only softened sections.
Continue filing until the acrylic is removed.
Finish with a buffer to smooth the nail.
Why this works
Acrylic thickness reduces gradually, making it easier to remove without chemicals.
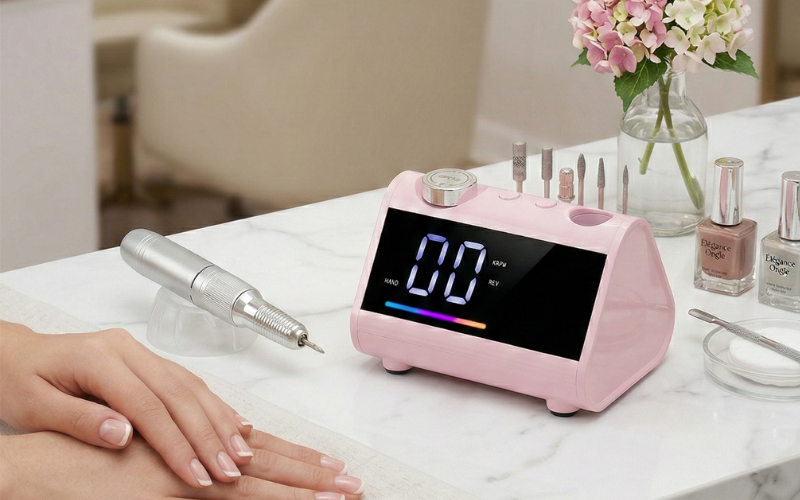
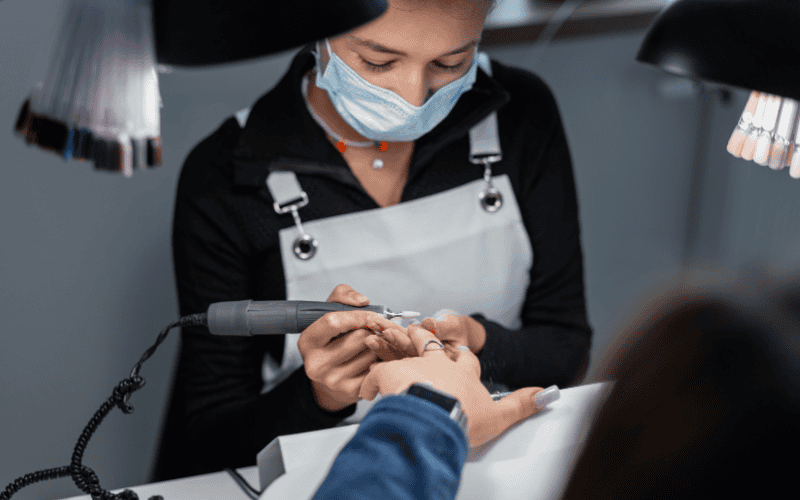
⭐ 5. Gentle Nail Drill Method (Surprisingly Safe When Done Properly)
Most people think a nail drill is “too strong” for DIY removal—but this is actually a misconception.
When used with low speed, light pressure, and proper bits, a nail drill can be one of the gentlest ways to remove acrylic without acetone.
Why a nail drill can be gentle
It thins the acrylic instead of pulling it
It avoids the need for prying or lifting
It reduces stress on the natural nail plate
You control exactly how much acrylic to remove
How to use a drill gently
Keep speed low
Work slowly and evenly
Avoid touching the natural nail
Switch to a fine grit for the final layers
If you aren’t confident about technique, here is a helpful step-by-step guide with practical safety tips:
👉 https://www.zsbeauty.com/news/nail-drill-tips-uses-guide/
This resource explains safe speeds, pressure, and beginner mistakes to avoid—making the filing process much easier and safer for home users.
6. Soak-Off with Non-Acetone Polish Remover
A non-acetone remover works, though slower.
What you need
Non-acetone polish remover
Cotton pads
Foil
Steps
Soak cotton pads in non-acetone remover.
Place on nails and wrap in foil.
Wait 20–30 minutes.
Gently remove softened acrylic.
Best for:
People who prefer a chemical-free method but don’t mind more time.
⭐ How to Choose the Best Non-Acetone Method
| Method | Best For | Strength |
|---|---|---|
| Warm soapy water | Very sensitive nails | Very gentle |
| Oil soak | Dry or brittle nails | Gentle |
| Nail drill | Experienced or careful users | Efficient & controlled |
| Manual filing | Beginners willing to take time | Safe but slow |
| Floss | Partially lifted acrylic | Quick but risky |
| Non-acetone remover | Chemical-free removal | Effective but slow |
⭐ What NOT to Do
To avoid damage, never:
✘ Force acrylic off
✘ Pry with metal tools
✘ Use excessive pressure
✘ File your natural nail aggressively
✘ Pull acrylic when only one side is loosened
Being gentle is key to maintaining nail health.
⭐ Aftercare: Protecting Your Natural Nails
Once the acrylic is removed, your natural nails need a little recovery.
Recommended steps
Buff lightly to smooth the surface
Apply cuticle oil
Moisturize daily
Use a strengthening base coat
Avoid re-applying acrylic for 5–7 days
⭐ Tips to Prevent Hard-to-Remove Acrylic Next Time
Request thin acrylic layers at the salon
Avoid overly aggressive priming
Moisturize daily
Do not let acrylic overgrow excessively
Replace full sets regularly
Good nail prep and maintenance make future removal easier.
⭐ Final Thoughts
Removing acrylic nails without acetone is absolutely possible—and can be done safely at home with the right methods. Whether you prefer the soaking approach, gentle filing, or using a nail drill carefully, the key is patience and steady technique. By treating your nails gently and giving them proper aftercare, you can maintain strong, healthy nails even with regular acrylic use.