Complete Guide to Nail Drill Handpiece Repair and Maintenance
Keeping your nail drill handpiece in top condition is essential for both salon professionals and home users. Over time, heavy use, dust buildup, or improper maintenance can cause your drill to lose power, vibrate, or even stop working completely.
In this guide, we’ll walk you through nail drill handpiece repair, how to clean nail drill bits, and how to know when it’s time for a nail drill handpiece replacement — so your tool performs smoothly and safely for years.
1. Why Nail Drill Repair and Maintenance Matter
A professional nail drill is an investment. But even the best model can wear out quickly if you neglect regular cleaning and lubrication.
When a handpiece gets noisy, overheats, or stalls, the problem often lies in dust accumulation or worn bearings — both of which can be prevented with routine care.
Proper maintenance doesn’t just protect your machine; it also ensures a safer, smoother client experience and reduces long-term repair costs.
👉 At ZealShine, we’ve tested hundreds of nail drills to identify the most common handpiece issues and the best ways to prevent them.
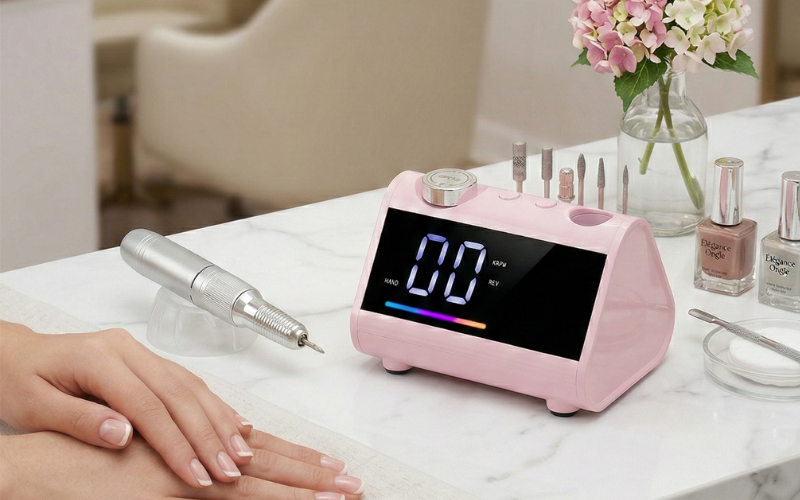
2. Understanding the Nail Drill Handpiece
Before diving into repairs, it’s helpful to understand the core components of a handpiece:
Motor: The power source that drives rotation.
Bearing: Keeps the motor running smoothly and silently.
Collet/Chuck: Holds the nail bit in place.
Housing: The outer casing protecting the internal parts.
🔧 3 Types of Handpiece Motor

Brushless motors are smoother, quieter, and last longer — ideal for professional salons. Brushed motors, on the other hand, are cost-effective but wear faster.
If your handpiece vibrates or makes a rattling sound, it could indicate bearing damage or motor wear, especially in brushed systems.
To learn more about the internal differences, check out our related post:
👉 Difference Between Brushless and Brushed Nail Dril
3. Common Problems That Require Nail Drill Handpiece Repair
Here are a few of the most frequent issues users encounter — and how to fix them before they worsen.
1. Noisy or Vibrating Handpiece
Cause: Dust or debris inside the motor housing, worn bearings, or imbalance.
Solution: Disassemble the outer shell, gently blow out the dust with compressed air, and lubricate the bearings using a small drop of machine oil. If the noise persists, consider a nail drill handpiece replacement.
2. Bit Slipping or Not Rotating
Cause: Worn-out chuck or internal spring.
Solution: Clean the collet thoroughly. If the bit still slips, replace the collet assembly or entire handpiece.
Using high-quality drill bits and regularly cleaning them can prevent most of these issues.
3. Speed Drops or Power Fluctuation
Cause: Loose cable connection or failing motor brushes.
Solution: Check the power cord and connector. If you use a brushed motor, inspect the carbon brushes — they may need replacing.
For consistent speed, consider upgrading to a coreless system for smoother operation.
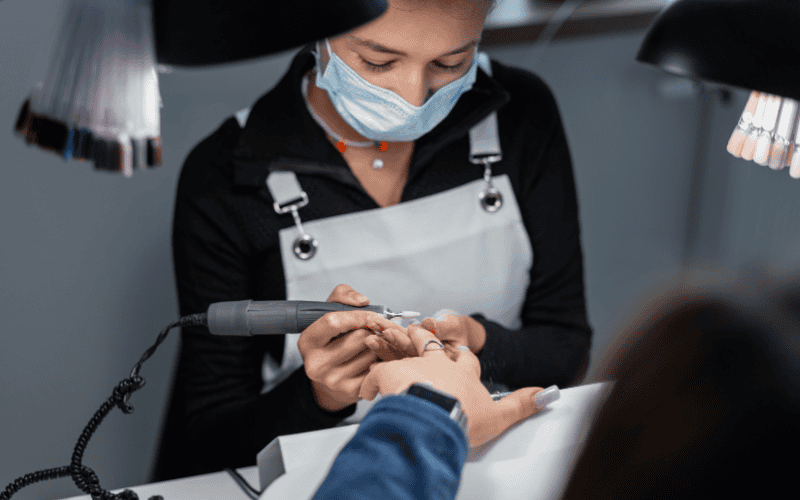
4. How to Clean Nail Drill Bits and Handpiece (Step-by-Step)
Keeping both your bits and handpiece clean is crucial to prevent overheating, contamination, and long-term wear. Here’s the proper routine:
🧼 Step 1: Remove Bits and Caps
Unplug the drill and carefully remove the nail drill bit and any dust cap.
🧴 Step 2: Brush Away Debris
Use a small brush to remove visible nail dust and acrylic residue from the bit and handpiece opening.
💧 Step 3: Disinfect the Bits
Soak the nail drill bits (not the handpiece) in a professional cleaning solution for several minutes.
This is the best method for those searching how to clean nail drill bits effectively.
🌬 Step 4: Dry Completely
Let the bits air-dry on a clean towel before reinserting them.
🧠 Step 5: Clean the Handpiece Externally
Wipe the handpiece with alcohol or a disinfectant wipe — never submerge it in liquid.
💡 Regular cleaning ensures smoother rotation and prevents bacterial buildup, especially when working with multiple clients.
For more tool care insights, read our related guide:
👉 Regular Nail Polish Drying: Why UV Light Doesn’t Work
This article explains how proper curing and cleaning habits protect both tools and clients from product contamination.
5. When to Replace Your Nail Drill Handpiece
Even with proper maintenance, no handpiece lasts forever.
You should consider a nail drill handpiece replacement if:
The motor becomes noisy or overheats quickly
The bit wobbles during use
Power or torque drops suddenly
You’ve already replaced internal parts more than once
6. Preventive Maintenance Tips for a Longer Lifespan
Keeping your handpiece healthy is easier than repairing it later. Follow these habits to extend its lifespan:
Use a dust collector during operation to reduce internal buildup.
Clean bits daily, and wipe the handpiece after each client.
Avoid dropping the handpiece — internal bearings are delicate.
Check cables and connectors every few weeks.
Store the handpiece in a dry place to prevent corrosion.
Consistent maintenance can extend your handpiece’s lifespan by up to 50%, saving time and money on replacements.
7. Nail Drill Repair vs. Replacement: Which Is Better?
If your handpiece is still under warranty or uses a replaceable motor, repair might be more cost-effective.
However, for older brushed systems, replacement with a new coreless model is usually a better long-term investment.
At Zeal Shine, we specialize in nail drill repair and OEM/ODM manufacturing, offering custom solutions for professional salons and distributors worldwide.
8. Final Thoughts
Your nail drill is the heart of your professional setup. By combining proper nail drill repair, regular handpiece cleaning, and timely replacement, you can maintain peak performance and ensure client satisfaction.
Keep your tools in shape, and they’ll reward you with years of flawless results.
Explore more tips and products at zsbeauty.com.