How to Remove Acrylic Nails at Home Safely
Acrylic nails are durable, long-lasting, and loved for their flawless salon finish — but removing them can be a challenge if you don't do it correctly. Pulling them off without proper softening can cause peeling, weakening, and long-term nail damage.
The good news? You can remove acrylic nails safely at home using acetone or alternative methods — as long as you're patient and follow the right steps. This guide walks you through everything you need, step-by-step instructions, safety warnings, and expert aftercare recommendations to protect your natural nails.
Why Safe Removal Matters
Acrylic nails are bonded tightly to your natural nail plate. If you peel them off forcefully, layers of your natural nail may come off along with the acrylic. This can result in:
Thin, soft, or brittle nails
Pain and lifting of the nail bed
Increased risk of infection
Longer recovery time before new gel or acrylic application
Professional nail technicians agree that improper removal is the number one cause of nail damage — not the acrylic itself.
What You Need Before You Start
Before beginning, gather the following supplies so the process is smooth and efficient:
100% pure acetone
Nail clippers or acrylic cutters
Nail file (100/180 grit)
Cotton pads
Foil sheets or soaking bowl
Cuticle stick or pusher
Nail buffer
Petroleum jelly
Soft towel
Cuticle oil or nail-strengthening serum
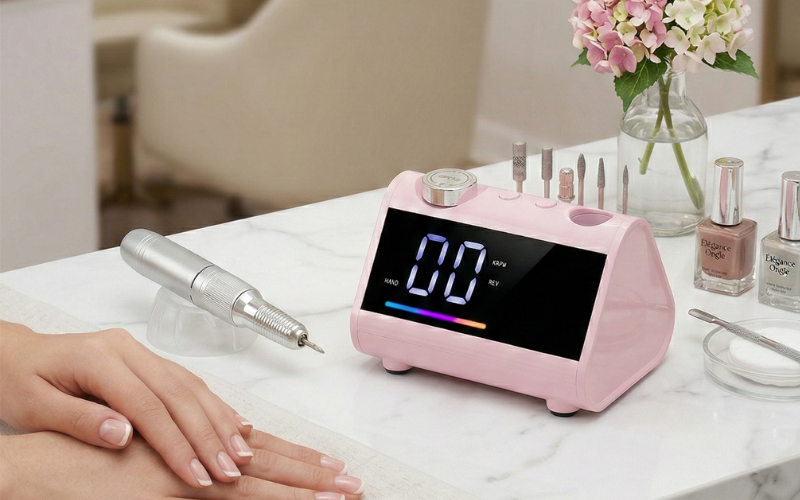
Nail drill (optional, but highly recommended for faster removal)

How to Remove Acrylic Nails With Acetone (Step-by-Step Guide)
Using acetone is the most effective and widely recommended method because it breaks down the adhesive bond so the acrylic lifts without force.
Step 1 — Trim and File the Acrylic Surface
Use a nail clipper to shorten the acrylic to a natural length. If you have extensions, cut just above where the natural nail ends.
Then, use a coarse file to remove as much of the topcoat and acrylic thickness as possible. This helps acetone penetrate faster.
👉 Tip: File in a single direction rather than sawing back and forth to prevent heat friction.
Step 2 — Protect the Skin
Apply a thin layer of petroleum jelly around the cuticles and finger edges to prevent dryness and irritation from acetone exposure.
Step 3 — Soak Your Nails in Acetone
There are two effective soaking methods:
| Method | Best For | Time |
|---|---|---|
| Foil Wrap Method | Less mess | 15–25 minutes |
| Bowl Soak Method | Faster softening | 10–20 minutes |
To use the foil wrap method:
Soak cotton pads in acetone
Place them on the nail
Wrap each finger tightly with foil
Step 4 — Gently Lift the Acrylic
After soaking, the acrylic should look softened or cloudy. Use a cuticle pusher to gently slide the product off.
⚠ If the acrylic resists, do NOT force it.
Instead, re-soak for another 5–10 minutes.
Step 5 — Buff and Smooth
Once all acrylic is removed, lightly buff the surface to smooth any residue and restore even texture.
Step 6 — Hydrate and Seal the Natural Nail
Finish with:
Nail hydrator
Repair serum
Cuticle oil
Hand cream
This step restores moisture that acetone temporarily strips away.
How to Remove Acrylic Nails Without Acetone
If you prefer avoiding harsh chemicals or don’t have acetone at home, there are alternative removal techniques. These methods may take longer, but when done correctly, they can still safely remove acrylic nails — especially when paired with a nail drill to thin the surface first.
Step 1 — File Down the Acrylic Using a Nail Drill
Before soaking in any solution, begin by reducing the thickness of the acrylic surface.
Using a professional nail drill allows you to:
Remove the glossy top coat
Thin down bulky acrylic layers
Shorten nail extensions
Speed up non-acetone removal
A medium-grit sanding band (180–240 grit) is recommended for controlled filing without damaging the natural nail.
👉 Filing makes the acrylic more porous, allowing warm water or non-acetone remover to penetrate faster — reducing soak time significantly.

Step 2 — Soak Nails in Warm Soapy Water
Prepare a bowl with:
Warm water
A few drops of dish soap
A teaspoon of salt (optional)
Soak your nails for 20–30 minutes, checking every 5 minutes.
Step 3 — Gently Lift Using a Cuticle Tool
Once softened, use a cuticle pusher to gradually lift the acrylic from the edges.
⚠ If you feel resistance, stop and re-soak.
Step 4 — Use the Nail Drill Again to Remove Residue
Once most acrylic is removed, use a fine-grit bit to smooth remaining product and shape the natural nail.
This step:
Removes leftover adhesive
Smooths texture
Prepares nails for reapplication or moisturizing
Step 5 — Finish With Care
Trim or shape the natural nails and apply cuticle oil and moisturizer.
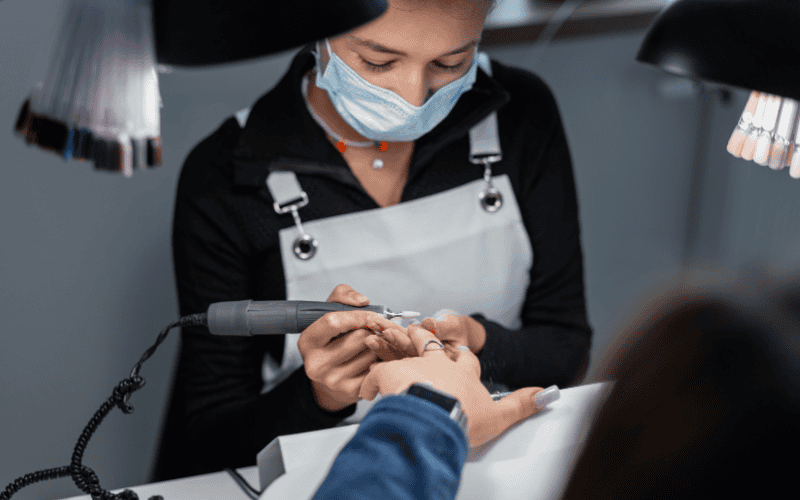
Why a Nail Drill Makes Non-Acetone Removal More Effective
Without acetone, removal typically takes longer. However, using a nail drill helps:
| Benefit | Result |
|---|---|
| Reduces acrylic thickness | Faster soaking |
| Smooths stubborn layers | Less picking or peeling |
| Protects natural nails | Less trauma |
| Creates salon-quality finish | Cleaner results |
Safety Tips and Mistakes to Avoid
✔ Do:
Be patient
Re-soak rather than rip
Hydrate nails afterward
❌ Avoid:
Peeling acrylic off forcefully
Using teeth or sharp metal tools
Heating acetone near flame (it's flammable)
Aftercare: Strengthen Your Nails After Removal
Recommended aftercare includes:
Daily cuticle oil
Nail-strengthening serum
Keeping nails short for 1–2 weeks
Hydrating hand cream
Avoiding new acrylics immediately
Frequently Asked Questions
How long should I soak acrylic nails in acetone?
Usually 10–25 minutes depending on thickness.
Is acetone harmful to natural nails?
Temporarily drying, but safe when followed by proper hydration.
Can I remove acrylic nails without acetone?
Yes — especially if using tools like a nail drill — but it takes longer.
Can I reuse removed acrylic nails?
No — once removed, shape and bond structure changes.
Final Thoughts
Removing acrylic nails at home safely is completely possible — as long as you follow a gentle process and avoid forceful peeling. Whether you choose acetone or a no-acetone alternative using a nail drill, patience is key to protecting your natural nails and preventing long-term damage.
With proper aftercare, your nails will stay strong, healthy, and ready for your next manicure.