Acrylic Nails and UV Light: What You Should Know
💅 Introduction
If you’ve ever done your own nails or watched a salon technician work, you’ve probably seen a UV or LED lamp used to cure gel polish. But what about acrylic nails?
Do you need UV light for acrylic nails, or can they dry on their own?
The short answer: acrylic nails don’t need UV or LED light to dry — they cure chemically, not with light.
Let’s break down exactly how this works, what happens if you try to use a lamp, and the right way to dry and protect your acrylic nails.
🔬 1. How Acrylic Nails Dry
Acrylic nails are made by mixing a liquid monomer with a polymer powder. When combined, they start a chemical polymerization reaction that turns the liquid mixture into a hard, durable surface.
Unlike gel nails, acrylics don’t contain photoinitiators — the light-reactive ingredients that require a UV or LED lamp.
This means that acrylics dry naturally in the air as the chemical reaction completes.
✅ In short:
Acrylic nails don’t need a UV lamp.
They harden on their own at room temperature.
Airflow can help speed up the process slightly, but light exposure isn’t a factor.

☀️ 2. What Happens If You Put Acrylic Nails Under a UV or LED Lamp
Many people assume UV or LED light can make acrylics dry faster — especially if they already own a nail lamp.
However, this is a common misconception.
Here’s what actually happens:
No curing benefit: Acrylic nails don’t respond to UV or LED light, so the lamp doesn’t speed up drying.
Possible yellowing: Overexposure to UV light can cause acrylics to discolor or turn slightly yellow over time.
Heat risk: UV lamps can generate mild heat, which may cause discomfort or minor surface warping if acrylic is still soft.
👉 In other words: Putting acrylic nails under a UV lamp does nothing useful and might even harm the finish.
💡 3. The Right Way to Dry Acrylic Nails (Without UV)
Since acrylics don’t need curing light, here’s how to make sure they dry evenly and beautifully:
🌀 1. Let Them Air Dry Naturally
Acrylics usually set within 5–10 minutes, but full hardening can take up to 24 hours. Keep hands still and avoid touching surfaces too soon.
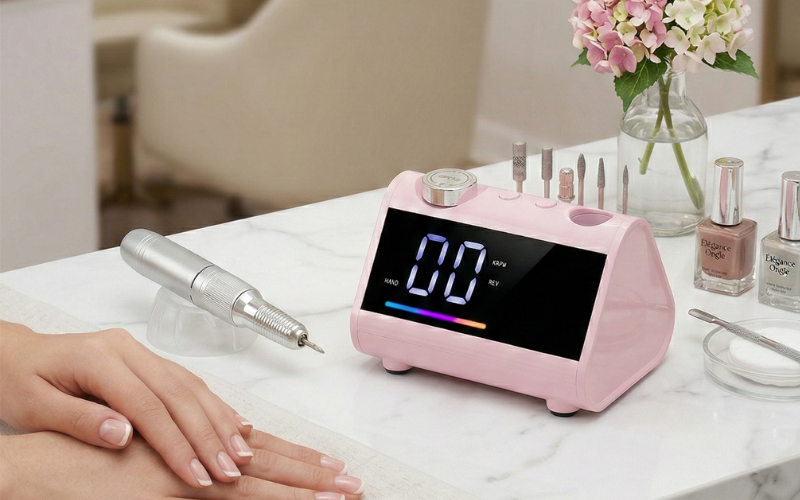
💨 2. Use a Fan or Air-Based Acrylic Nail Dryer
If you want to speed up drying time, use a fan dryer designed for acrylics — not a UV or LED lamp. It enhances airflow and helps solvents evaporate faster.
💅 3. Apply a Fast-Drying Spray or Top Coat
Special “quick-dry” sprays can form a protective layer and reduce tackiness on the surface while the acrylic sets beneath.
🔥 4. Maintain a Comfortable Room Temperature
Avoid direct heat or cold air, which can affect how the acrylic cures chemically.
💎 4. UV Light vs. LED Light vs. Air Drying
To better understand which method suits each nail type, here’s a quick comparison:
| Type | Curing Method | Requires UV/LED Lamp? | Drying Time |
|---|---|---|---|
| Acrylic Nails | Chemical polymerization | ❌ No | 5–10 minutes (air dry) |
| Gel Nails | Photo polymerization | ✅ Yes | 30–90 seconds (lamp) |
| Regular Nail Polish | Solvent evaporation | ❌ No | 10–20 minutes (air dry) |
💬 Will LED light dry regular nail polish?
No — LED lamps only work for gel polish, not for regular or acrylic nails. Regular polish dries as solvents evaporate in the air.
🧠 5. Can You Combine Gel and Acrylic?
Some nail artists use a hybrid method — acrylic base + gel top coat.
In that case, only the gel top coat requires curing under a UV or LED lamp.
So yes, you might use a UV light for acrylic nails indirectly — but it’s for the gel layer, not the acrylic itself.
✅ Quick tip:
If you want extra shine and durability, a gel top coat cured under LED light is a great way to finish an acrylic set safely.
💅 6. Tips for Perfectly Dried Acrylic Nails
Use high-quality monomer and polymer powder for consistent curing.
Don’t apply layers too thick — thin layers dry more evenly.
Avoid water or moisture exposure during the first hour after application.
Keep your tools and environment clean and dry.
If needed, gently buff and apply a gel top coat for added gloss.
⚠️ 7. Common Mistakes to Avoid
Using UV or LED lamps for acrylics — they won’t help.
Using gel dryers instead of air dryers — totally different purpose.
Not giving acrylics enough time to set — can cause lifting or bubbling.
Applying regular polish too soon — always wait until acrylic is fully hardened.
🌟 8. Final Thoughts
Acrylic nails look beautiful, but they don’t behave like gel polish.
They harden through chemistry — not light — so UV and LED lamps aren’t necessary for drying.
If you want faster, smoother results, use a fan-based acrylic nail dryer or let your nails air dry naturally.
And if you’re working with gel products, invest in a reliable UV/LED nail lamp designed for professional salons.
💬 In summary:
Acrylic nails don’t need UV or LED light to dry.
UV light is for gels, while acrylics cure on their own — simple, safe, and effective.
🛍️ Recommended by ZealShine
At ZealShine, we design professional-grade UV/LED nail lamps and nail dryers trusted by salons worldwide.
Whether you’re curing gel polish or drying acrylic sets, our lamps deliver consistent performance, low heat, and elegant design.
💬 We’ve also covered the topic of skin sensitivity to nail lamps in
UV Light Allergy on Fingers, which offers tips on safe use and protection.